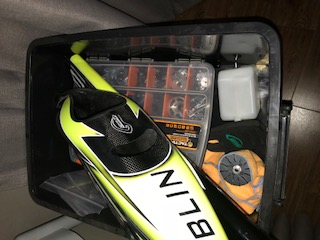
The specs on this one are:- Standard Kit- OS 105 hz and Power pipe- Brain 2 FBL - Gryphon Voltage Reg- Gryphon mini Auto Ignitor- 1 x Spektrum Sat
I am going to make use of all the equipment supplied as it is all top quality. However the one Sat situation does not full me with confidence, especially on a full size bird constructed mainly of Carbon fiber.
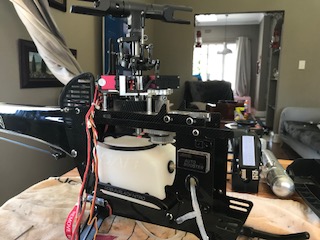
The reason for the post here is that I always strip down any second hand purchase to the nuts and bolts and rebuild. So I want to show the process that I follow to get this right. The reason that I do this is for the following reasons:
1. Replacement of any worn or damaged parts (I have had bent shafts in the past and bad bearings). When guys crash they sometimes only replace the items that are easy to do.
2. Check the use of thread lock. Have had a number of kits where you pull screws out with no thread lock.
3. Fix stupid mistakes made by others... Yes I have had piston sleeves put in the wrong way. And if you work with Nitro motors you will know that it is kind of hard to do.
4. My own piece of mind and the only person to blame going forward. If I crash due to poor construction and the like it is only my fault.
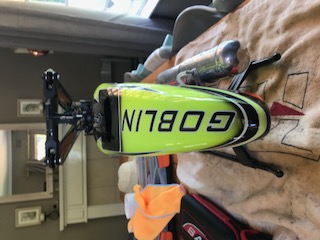
The easy part is to pull it all apart. Started with the blades other easily strip-able bits.
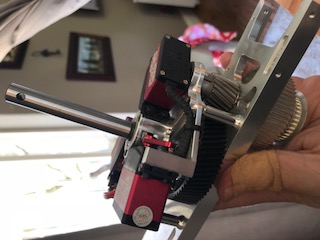
The nice bit about the Goblin Nitro is that with four screws need to be removed and the whole power plant comes off the front without too much effort. This is a great design feature as it allows easy access to do maintenance to the power plant at any time.
Additional items to release before the power plant comes free is the tail box and the fuel tubing...
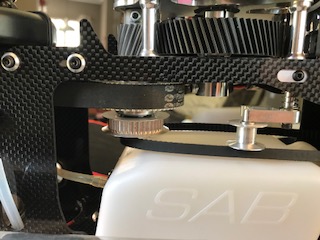
Here you can see the tail built off the cog pulley.
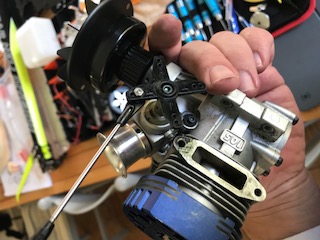
As you can see a very neat power plant design. Just for noting I, at this point in time was a little concerned around the possibility of stripping screws. The thread lock was applied way to heavy, and was right at the top of the screw. This also leads to breaking of the CF if the screw is directly mounted against the plates. This also meant that the thread lock had not completely set and was still wet, even though this heli looks like it was built at least a year and half ago.
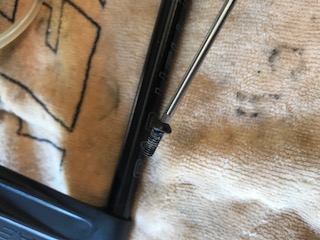
Not the best pic of this, however it is still a little wet at the tip and the there is thread lock all the way to the cap. I know guys say they would rather deal with stripped screws and damaged carbon rather than have the part come off in flight, but if you check your gear regularly and clean properly you would not have any such issues. Bottom three threads only and then should only be in the groves. Will try to show this on the build.
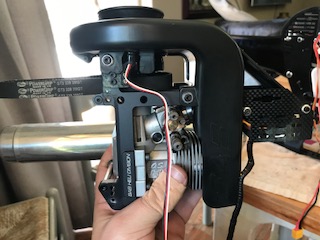
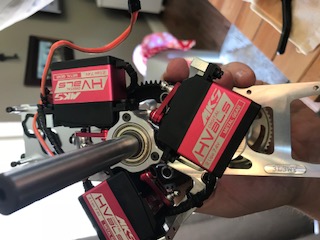
The next parts to come off the heli were the electronic equipment. This included the FBL unit - Brain 2 and the voltage regulator (Gryphon). The Regulator has a pull tag at the end of it. Makes it very useful for keeping the canopy on the heli during the start up process and no switches to turn on and off.
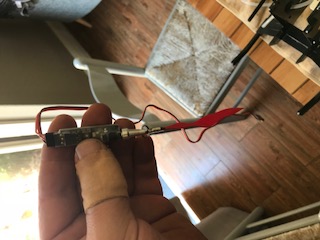
The regulator pin.
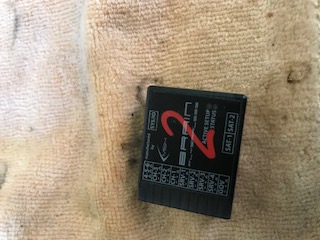
Brain 2 FBL unit.
Gryphon voltage regulator.
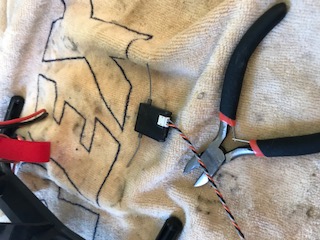
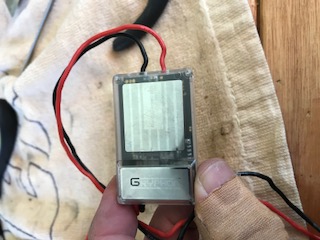
The solo satellite. I think for such a big heli to just have one is a bad idea. May even consider fitting a full size receiver to this bird. Space is however a bit tight.'
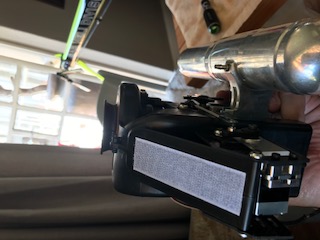
Next to come off the heli was the tail boom. This is a fairly simple task with two nylon bolts and two screws on either side. The whole exercise took under five minutes. This is a definite design plus as it makes the entire process of replacing the boom, for what ever reason, simple and fast.
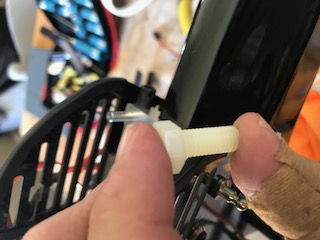
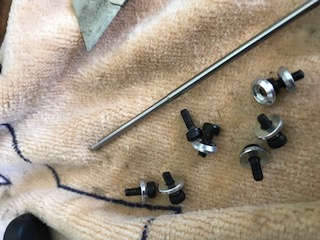
The nylon bolt that holds the boom. In a crash supposed to be sacrificed and save the boom and other parts.
Top of the plate where the bolts attach to the boom. There is embedded nuts in the boom that then pull the whole assembly tight.
Looking down the boom with the nuts visible.
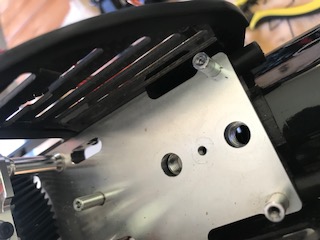
This was then followed by the base plate that contain all the gears and servos for the swash plate and head. The basic construction is the aluminum plate with another plate bolted to it with space for gears in between. The quality of this heli is very evident in the look and feel of these items. It seems that all the parts are milled out of solid pieces and then properly cleaned of all burrs. A lot of time was taken to do this, which seems these days to translate into a great heli.
So here is one of the reasons why I pull the entire heli apart. The screws that hold the base plate to the carbon frame had no lock tight. A lot of people have indicated to me in the past that when you place screws into carbon fiber and then to metal you do not need thread locker. I don't like to do this and even the manual indicates that these screws should have been thread locked. These screws have no thread lock and came out clean and dry.
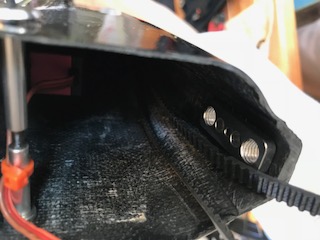
So the likely hood with these screws of a catastrophic failure is low (All six would have to pull out at the same time). The real issue is that the screws are used to create tension on the belt and if they split it could mean that the belt slips and breaks causing damage at the same time or premature ware.
Rant over and moving on...
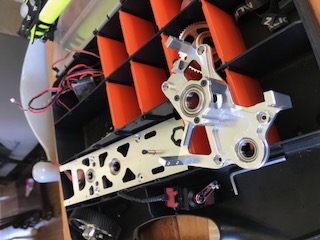
The two plates of the main drive assembly.
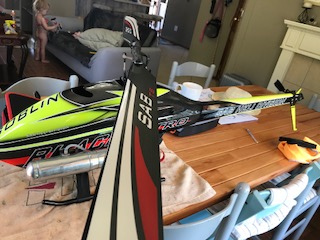
The frames where really easy to strip from there and the fuel tank came out with out any fuss. Did not take many photos of this process at the time as it was as simple as unbolting a few screws.
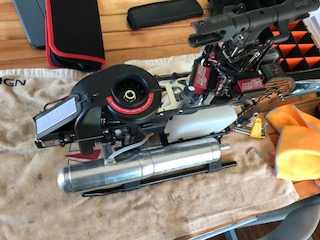
The next part was the removal of the engine from the fan housing. Again there was a couple of bolts that were unfastened and apart it came. There was a little break on the plastic which will need to be repaired or may order a new one. I just need to see if it is superficial or structural. It had a repair on it, not very well done, so was broken when it was built.
On the positive side the Nitro Motor looks like it has had ten min flight time. Not much dirt on the out side, other than where the exhaust joins the motor. This is due to a metal spacer being used to join the two pieces. So no gasket was used which would have prevented the leaks.

So finally we ended up with the entire kit stripped with every nut and bolt removed and placed in a box or bags.
The next steps is to clean old thread lock from the bolts and make sure that I oil all the screws again so that they do not rust. Once this is done we will start the build again. I like to start with the electronics and centering of the servos. Should not be to difficult if it was done correctly.